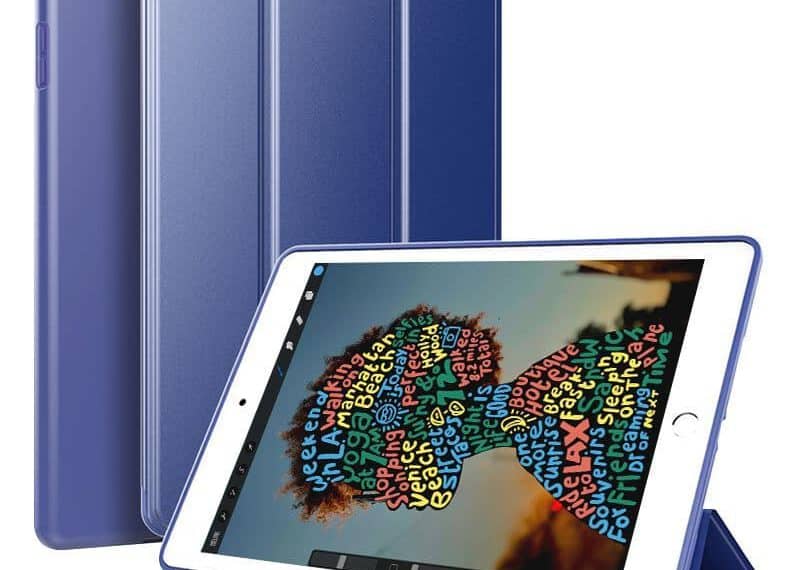
Cases Apple itself makes several types of covers for the iPads, the smart cover, the smart folio, and the leather sleeve. There are literally hundreds, if not thousands, of Apple’s Smart Cover

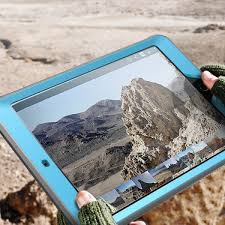
Smart Folio These look like the smart cover from the front, but also protect the back of the iPad from scratching. If you are going to use your iPad in a dirty environment or a place with “grit” that could scratch the back, this might be your best option.
Leather Sleeve These were introduced along with the 10.5″ iPad Pro, and are just what they sound like. They’re a leather sleeve that lets the iPad slip inside a slot at the top. These also have a little holder for the Apple Pencil.
Leather Sleeve The trick here is in deciding how much you want to spend. The Smart Covers run $49-$95 and offer no protection at all for the rear of the iPad. The Smart Folio offers more protection, but also runs from $49-$129 The leather sleeve looks awesome, and does offer some protection, but Apple charges $129-$149 for them.
This is one of those rare times when I recommend that buying a non-Apple product is the best choice. As long as it fits and offers the level of protection you need, why spend a bunch of money on an Apple-branded case? I have a nice faux-leather wraparound case that I bought for $14.99. Then again, if you aren’t going to carry it around much, or if you plan to get a keyboard that doubles as a cover, you may not need a case at all.
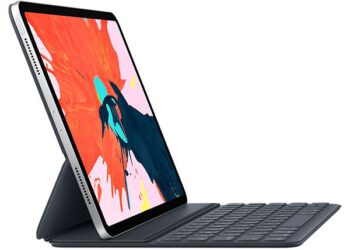
Accessories: Keyboards Although you’ve always been able to use a Bluetooth keyboard with iPads, it’s only with the introduction of the Pro models that keyboards have really entered the mainstream for iPad use.
The onscreen keyboard is still there, and sometimes when traveling it’s the only way to go, but it’s never been the most efficient option for typing a lot of information. If you plan to spend all day typing on the iPad, you’re going to want to use a real keyboard. Here are the main options.

Logitech Slim Folio Keyboard is one of many third-party keyboard cases, and is one of the better ones. The iPad slips inside a plastic case, which essentially turns the whole shebang into what looks like a laptop, and it’s half the price of the Apple keyboard. It’s got nice keys with good travel and a real keyboard feel. This is also one of the few iPad keyboards I’ve run across that has backlit keys.
Bluetooth Keyboards are an even more wide-open option. As I said earlier, any Bluetooth-capable keyboard can work with the iPad. If you go this route, you will probably need some kind of stand to hold up your iPad vertically like a monitor.
I have used the Logitech K760 solar powered keyboard, and it works quite well, without the need to replace batteries… ever.
One final option is to use a regular USB wired keyboard with the Camera Connection Kit that we’ll talk about in the next section; I am typing this right now on a clicky mechanical keyboard from DasKeyboard plugged in with a wire. It’s not as portable, but it sure is nice to type on.
Accessory: Apple Pencil Much has been written about the Apple Pencil since its introduction. It’s light, charges quickly, and has the lowest latency of any drawing device I’ve ever come across. It’s the closest thing to a real pencil available. Don’t draw much? It still has uses: • Doodling, painting, and art of all kinds
- User-interface controls. Dragging, moving and selecting can all be done with the pencil instead of your finger. I don’t “draw” at all, as I don’t even pretend to be an artist. Still, I use the Apple Pencil all the time while editing videos and podcasts
on the iPad. • Handwriting and notes • Annotating and signing documents Accessories: Dongles and Adaptors The “Lightning to USB Camera Adaptor” is probably Apple’s most poorly-named product.
The version that supports SD Cards is certainly excellent for offloading photos from a camera memory card.
The other one, the USB version, was created to directly connect a camera to the iPad for the same reason (offloading photos from the camera), but it can be used for so much more. It’s a little dongle that allows you to plug in any USB type A device into your iPad.
There’s also a similar USB-C to USB-A adapter if you need to plug in an older device into the newer iPad Pros with USB type C. Basically, whatever you want to plug in, Apple sells some kind of dongle or adaptor to make it work.
There also are many third-party (non-Apple) companies that make accessories and adaptors. Many of these work perfectly, but some cheap knock-offs can actually be harmful to your equipment, so it’s always safer in this case to pay a little more for the Apple stuff. If you want to use your iPad Pro with an external monitor, you’ll need the USB to HDMI (or USB to VGA) adaptors. It’s all pretty flexible: As I mentioned before, this article was all typed with a wired mechanical keyboard.
This particular keyboard requires two USB-A ports, so I plugged both USBs into a small USB-C hub, and then connected the hub into the iPad Pro’s USB-C port.
This probably isn’t something everyone would want to do, but it shows what is possible. I’ve also plugged in external USB microphones to do podcasting and audio book recording, and they work fine, although this probably hinges on the microphone’s power consumption.
Of course, flash drives and external hard drives will also work. It’s just a matter of getting the adaptor that you need.


